Apple Butter

This recipe makes the best dad-gum apple butter I have ever put in my mouth. And I have put a lot in my mouth. Wait…. that sounded dirty. Let me rephrase that. I have put a lot of good apple butter in my mouth. There! That’s better! (No Doyle, I don’t want to hear it!!) The only bad part about this recipe is the peeling and dicing of the apples. Seriously, that’s it. After you dice, you just throw it in the slow cooker and walk away for about 9 hours. Go take a bath, do your nails, eat chocolate….. the world is your oyster! However, if you are a mom like me, you would probably go clean house and do laundry while keeping your little monsters busy. What?! Monsters is a term of endearment in this house! Besides, have you seen Rupert?!

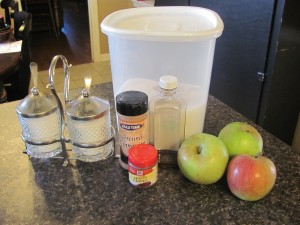
Step one: Gather your ingredients. You will need apples, sugar, cinnamon, cloves, salt, vanilla, and almond extract.

Step two: Peel and dice your apples and throw them in the slow cooker.

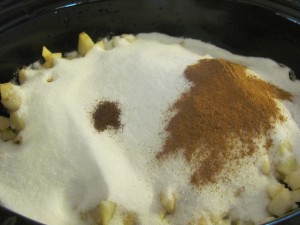
Step two: Throw in the rest of the ingredients and stir.

Step three: Turn slow cooker on high, close lid, and walk away for an hour. Come back and turn cooker to low. Walk away again for 8 to 9 hours.

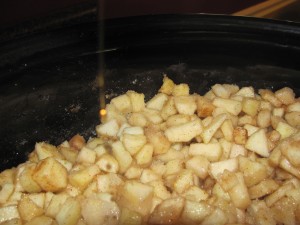
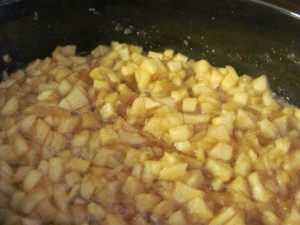
Now, knowing me, I never leave anything alone for long so I decided to check out the apple butter half way through cooking time to show how it will break down into apple butter.

Now also knowing me still…. I don’t have a picture of the finished product. Why? Because we had some dear friends over for supper and I was busy socializing!! And where did we do most of the talking? In the kitchen of course! Everyone always winds up in the kitchen!

Slow Cooker Apple Butter

5 1/2 lbs. apples of your choice, peeled and diced rather smallish (smallish…… smallish…..)

4 c. sugar

2 tsp. cinnamon

1/4 tsp. cloves

1/4 tsp. salt

1 1/2 tsp. vanilla

1/2 tsp. almond extract

Throw everything in the slow cooker, close lid, turn on high, and walk away for an hour. Come back, turn cooker down to low and walk away for the next 8 to 9 hours. When your apple butter is dark and thickened, take lid off, and let cook for a little longer to get rid of excess water. Now you can put this in jars and process in a canner if you wish but honestly, the butter never lasts that long in this house. I usually put it in a jar and store it in the fridge for a few weeks.

We usually put apple butter on biscuits or on a hoe cake. I found the recipe for hoe cake on Southern Plate. It is a giant fluffy biscuit with a crispy exterior. You must try it. It is life changing. You will be hooked. Quick time-saving tip: When you have time, make up several batches of the flour/shortening mixture, put enough for one hoe cake in a zipper bag,  and store in the fridge or freezer. When it comes supper time on a busy work day, grab a bag, add your milk, and pop it in the oven. Mmmm….. goodness on an ordinary week night. Speaking of which, I need to go make more batches. Happy eating!

Thank you for reading.

Canning Maters

My daddy brought me two 25 lb. boxes of the famous Grainger County tomatoes er…. maters.  Grainger County maters are considered candy around these parts so it is important to properly put them up. A rotten mater is something to cry over. Now, I want to stress that I have zero experience in canning aside from canning a couple of jars of preserves once and it was as overwhelming then as it was now. Ack! Don’t get me wrong. I have nothing against canning. I would love to grow and can and/or freeze everything we eat around here. It certainly would be very healthy and cost conscious. I just need a bigger stove! And more patience! And feet that hurt less! Moving on!

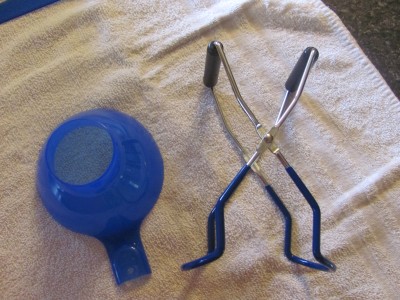
On a whim, I decided finally pick up a water bath canner while picking up some cream and a muzzle for my dog (Yes, I said cream and muzzle. What can I say? He’s my special boy!) at a local supply store. I paid around $59.00 and it included a rack, tongs, magnet thingy, spatula thingy (Yes, I did graduate with honors. Why do you ask?), and a funnel. With my new toy in hand, I decided to throw caution in the wind and go for it. Lets do this…..

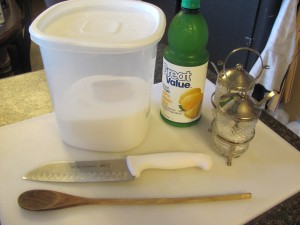
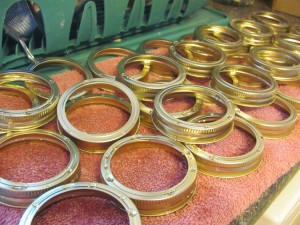
Gather your ingredients and equipment because once this gets going, you gotta work fast! You will need tomatoes (DUH!) that have been washed, a canner with a rack or a large pot with a towel in the bottom of it, can tongs or a strong set of regular tongs, a magnet thingy, spatula, jars with lids and screw bands, a few large pots, one medium pot, several towels, cutting board, big girl knife, lemon juice (bottled, not fresh), salt, and sugar.

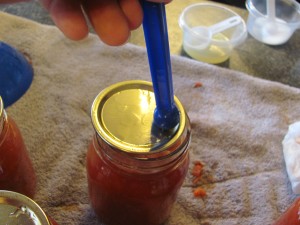
See the little spatula thingy? It has handy little notches to measure head space in your jars!

Step one: Put jars into dishwasher and set to sanitize cycle. Wash lids and rings in hot soapy water and rinse well. On a side note: Did you know you can cut your thumb on a lid while washing it? You can! Dry rings thoroughly and set aside. Place lids in medium pot. Alternate lids in layers. Lay first layer, face down, lay second layer face up, etc. Cover lids with water. Set pot on stove.

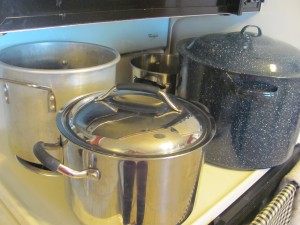
Step two: Fill up your canner halfway with water and set on stove or fold a clean towel, place in bottom of large pot and fill halfway with water. Set on stove. Get extra pot and fill with hot water and set on stove or set in oven and turn oven on to 400 degrees. This will be your extra hot water to top off your canner. Just for kicks, set another big pot on stove (This will be your mater pot.) to see if it will actually fit. WHEE! It does!

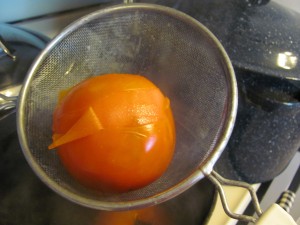
Step three: Move your mater pot out of the way. Get (yet ANOTHER) large pot and fill with hot water. Set on stove on high heat and bring to a boil. Plop in your tomatoes, a few at a time, and boil until the skins split, about 60 seconds. Remove maters from water and immediately put into cool water. The skins will slip right off!

Good grief! They’re naked!

This is the point in time where you are reminded of that nasty little cut on your thumb when Satan opens all seven gates of Hell on it when the tomato juice hits it. You will be reminded of this repeatedly throughout this process.

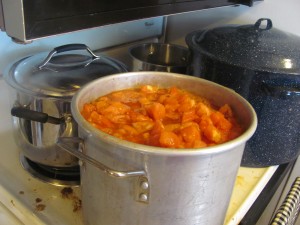
Step four: Spend next 45 minutes cursing the maters while you are chopping them up. Remember! Gates of Hell! Put them into pot and set pot onto stove. Bring maters to a boil and boil gently for 5 minutes. Turn on all pots while you are chopping maters, this gives the water time to heat up.

*Sob!* He was such a good little spoon. He will be remembered…..

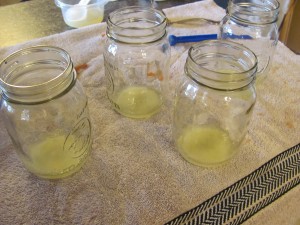
Step five: Remove hot jars from dishwasher. Put a 1/2 teaspoon of salt and sugar, each, and a tablespoon of bottled lemon juice in each jar. Fill jar with hot maters, leaving a 1/2 inch of head space. Slide spatula down sides of jar to remove bubbles.

Step six: Wipe of rims of jars with damp towel. Use magnet thingy to get lids out of hot water and place on top of jars. Secure with rings. Don’t over tighten rings.

Step seven: Place jars inside canning rack and place rack in canner that is hopefully filled with boiling water or carefully place jars on towel in large pot with tongs. Use extra hot water to cover jars. You want the water to cover jars by at least an inch. Bring to a boil, cover, and process for 35 minutes for pint-sized jars. Higher altitudes need to process longer. Use the USDA guidelines for your altitude.

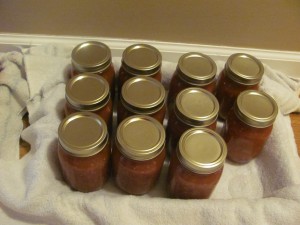
Step eight: Turn heat off and let canner cool for 15 minutes. Remove jars from canner and set on a towel to cool for the next 12-24 hours. If you did it right, you will hear popping!

Step nine: Sob at the sight of your stove and kitchen. Grab a beer and GO SIT DOWN FOR POOP’S SAKE!

Thank you for reading.